The most common question we hear about a cracked skimmer is not "how do I fix it." It is "do I really have to tear up my deck?"
Usually, no. A crack in a pool skimmer is one of the most common leaks in swimming pools, and most of them get repaired in place. The skimmer body stays put, the deck stays intact, and the pool stops losing water.
This guide covers why skimmers crack, how to tell a skimmer crack from the two leaks that get blamed on it, the repair material that actually holds, and the honest line between repair and skimmer replacement.
Why Pool Skimmers Crack
A skimmer is a plastic box set into a concrete or gunite pool wall. Plastic and concrete expand and shrink at different rates. That joint, where the skimmer meets the pool, is under stress every single day. Cracks show up there for four main reasons:
- Ice. Water left inside the skimmer after winterization can freeze and expand. The skimmer housing has nowhere to give, so it splits. This is the number one cause in cold markets.
- Deck settling. When the deck sinks or heaves, it puts pressure on the skimmer from the top. The skimmer throat, the narrow passage between the skimmer opening and the pool, takes the hit.
- Ground movement. Expansive clay and freeze-thaw cycles move the pool wall and the deck in different directions. The skimmer sits right between them.
- Age and sun. A plastic skimmer gets brittle after enough years of UV and chemicals. Hairline cracks start at stress points and spread.
Which cause you get depends a lot on where you live, and we cover that by territory below.
Signs of a Cracked Skimmer
A leaking skimmer announces itself in a few predictable ways:
- The pool loses water, then the level drops and stops right at the bottom of the skimmer mouth
- Air bubbles at the returns or a pump that loses prime while the pump is running (a suction-side leak pulling air through the crack)
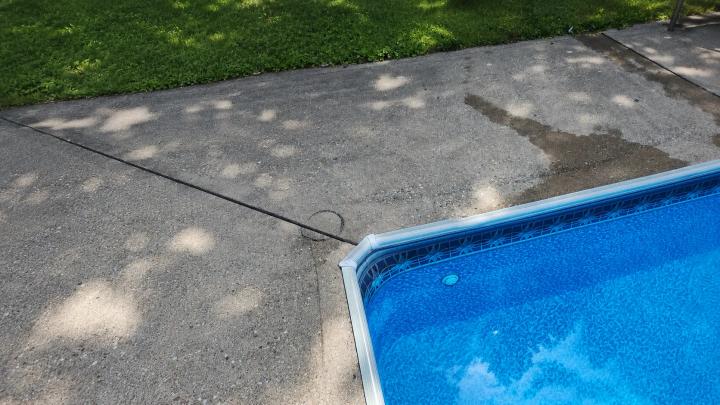
- Wet or sunken deck right around the skimmer
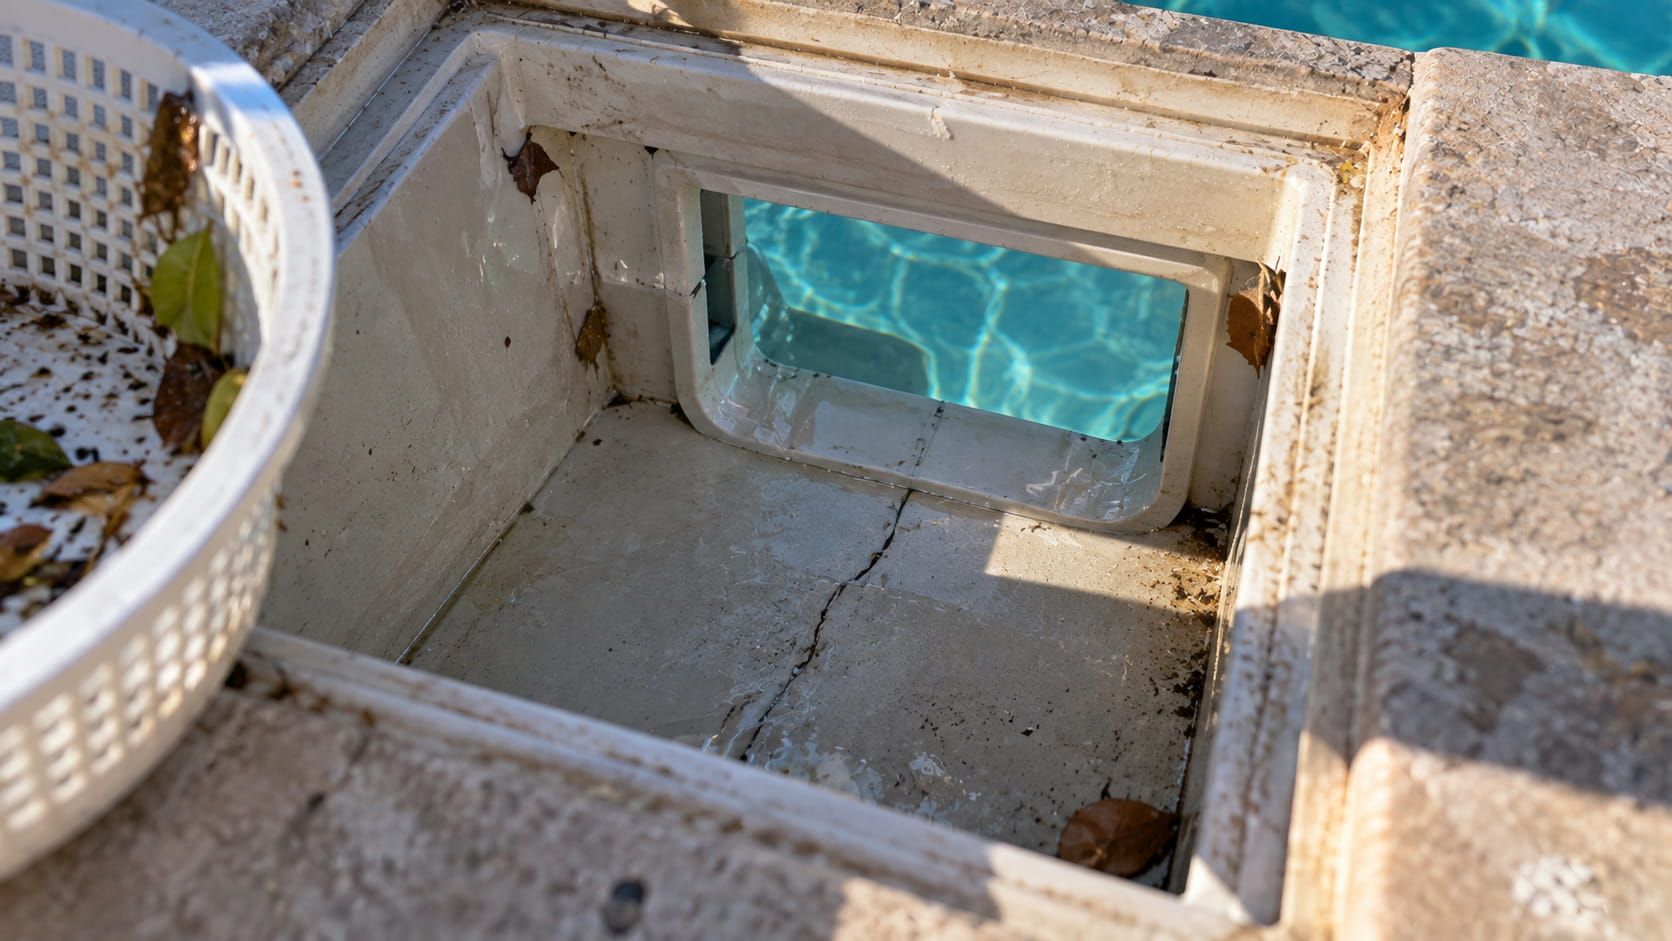
- Visible small cracks inside the skimmer, in the throat, or along the skimmer wall
- A pool that needs topping off well beyond normal evaporation
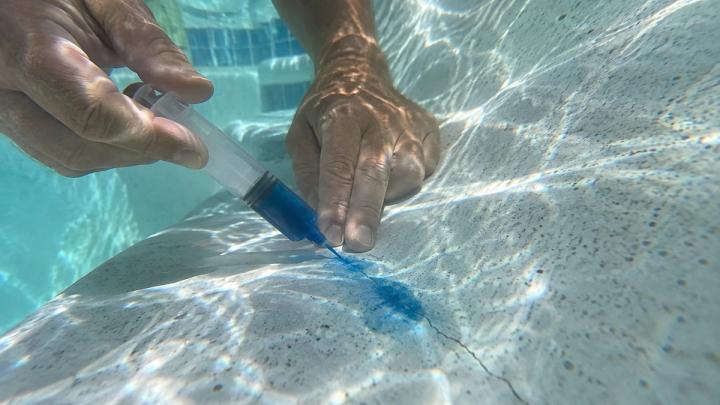
Confirm the water loss first with a bucket test so you are not chasing evaporation. Then inspect the skimmer with the pump off and the water still. A drop of dye released near a suspect crack will pull straight into it if it is leaking.
Throat, Body, or Faceplate? Find the Real Leak First
Here is where most DIY skimmer repairs go wrong. "Skimmer leak" describes three different problems, and each one needs a different fix.
The throat is the one to watch. In concrete pools and plaster pools, most "skimmer cracks" that leak are actually at the throat, right where the skimmer meets the pool. Patching a crack in the skimmer body while the throat is the real leak is the classic wasted weekend.
"Nine times out of ten, the crack a homeowner shows us is not the leak. It is a hairline in the plastic that has never leaked a drop. The real leak is the throat, or the faceplate seal, or the skimmer line behind it. We dye test all three before anyone opens a tube of anything."
Level Up Leak Detection team
Not sure which one you have? Call Level Up at (866) 420-5383 or schedule online. We find the exact leak before you buy a single repair kit.
How to Fix a Crack in a Pool Skimmer
For a confirmed crack in the skimmer body or throat, here is the repair that holds:
- Choose the right repair material. For small cracks, use a 2-part, pool-safe epoxy putty. Look for pool putty labeled for underwater use. For the throat, a pool-grade epoxy or hydraulic cement bonds plaster to plastic. Skip household silicone; it will not bond to wet plastic and peels within a season.
- Lower the water if you can. A dry surface bonds better. If you cannot lower the pool level, underwater epoxy works, just expect a slightly shorter life from the patch.
- Clean and rough up the area. Scrub around the crack, remove algae and scale, and scuff the plastic with sandpaper so the epoxy can grip.
- Open the crack slightly. Widen a hairline into a shallow V with a small grinder or file. A crack packed with epoxy holds far better than one skimmed over.
- Knead, press, and overlap. Mix the 2-part putty, press it firmly into the crack, and overlap the sound material by about an inch on every side.
- Let it cure fully. Most pool epoxy cures in 24 hours. Keep the pump off and the weir door still until then.
That is the simple patch, and on a sound skimmer it stops water loss for years. What it will not do is hold a brittle skimmer together or seal a throat that keeps moving with the deck.
Repair or Replace? The Honest Line
Skimmer replacement on an in-ground pool means cutting the deck, breaking out the old body, plumbing a new one, and pouring concrete. It costs several times what a repair does, often running into four figures, because most of the money goes to demolition and re-plumbing. So replacement has to earn it.
A good skimmer lasts decades. Most replacements we see are not from age but from ice damage or deck movement, and even then the throat can often be rebuilt without touching the deck. That is the answer to the question everyone asks: get the skimmer diagnosed before anyone quotes concrete work. If your Hayward or other brand skimmer needs a new weir door or basket, that is a five-minute part swap, not a repair.
How to Prevent the Next Crack
- Close it right. Lower the water below the skimmer opening before winterization and put a skimmer guard or an empty sealed bottle in the box so ice has something to crush besides the skimmer.
- Keep the deck drained. Water pooling on the deck or pool wall near the skimmer is what settles the concrete on top of it.
- Watch the waterline. Running the pool too low lets the skimmer suck air and stresses the throat. Keep the level mid-skimmer.
- Inspect each spring. Two minutes with a flashlight inside the skimmer catches a hairline before it becomes a leak.
The same rules apply to a spa skimmer, and to the thru-wall skimmers on above-ground pools, which crack the same way and patch the same way.
Skimmer Cracks by Territory
The cause of your skimmer crack usually matches your ground and your winter. Local knowledge is why every Level Up territory runs the same flat-rate detection with a team that knows the pattern:
- Columbus, OH: Ice after closing is the top cause. (380) 220-6760, view territory
- Colorado: 150-plus freeze-thaw cycles plus bentonite clay. (720) 783-5380, view territory
- Southern Utah: Desert sun by day, real freezes by night in winter. (435) 900-7475, view territory
- North Austin, TX: Deck settling on shrink-swell clay. (512) 357-7272, view territory
- South Austin, TX: Limestone movement and drought cycles. (737) 520-4735, view territory
- North Atlanta, GA: Georgia red clay pushing on the deck. (678) 336-8647, view territory
- Las Vegas, NV: UV-brittle plastic and settling under newer builds. (725) 425-5708, view territory
Patch the Right Crack, Once
A skimmer crack does not have to mean a jackhammer. Find the real leak, whether it is the throat, the body, the faceplate, or the line, use a pool-safe 2-part epoxy where it belongs, and save replacement for skimmers that have truly given up.
When the pool keeps losing water after your patch, or you would rather skip the guessing, that is where professional leak detection earns its keep. Call Level Up Leak Detection at (866) 420-5383, find your local territory, or schedule your leak detection online. We will find it, and we will fix it right the first time.